Simple Tutorial 6 work
This tutorial work is about the setup of various cameras and some render for the camera.
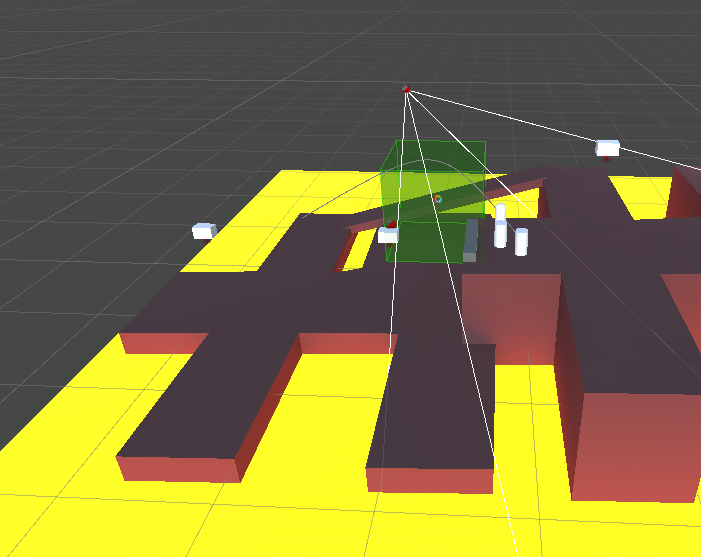
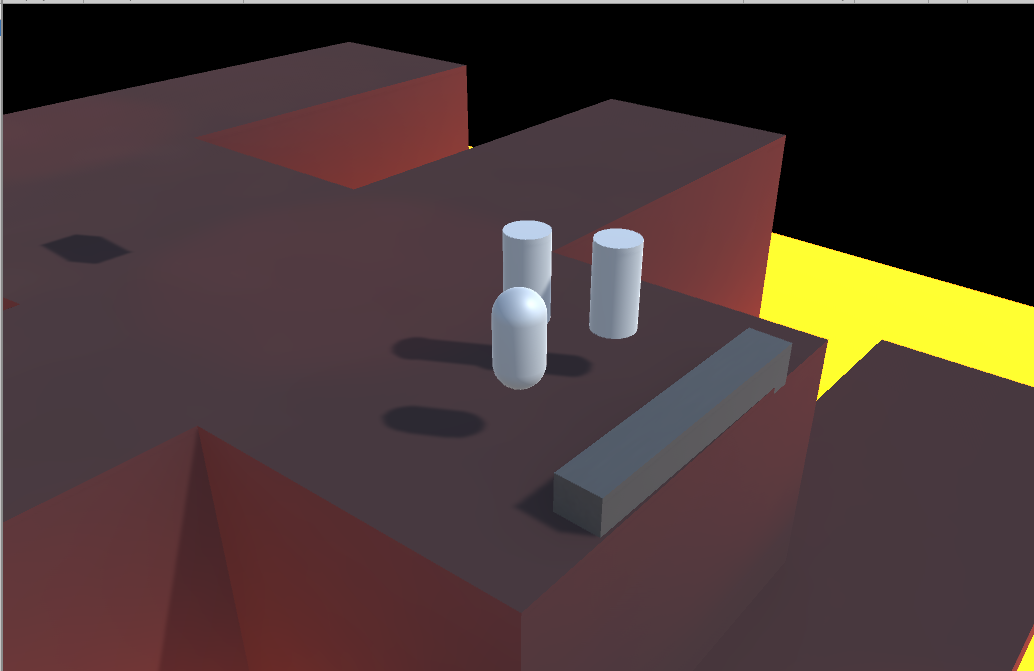
This is the scene I used, taken from the resources provided in Mylo,
The first is to shift the camera by walking into specific areas,
After entering a specific area, the second camera will be activated by script control to achieve the effect of camera switching. The switching time can be adjusted artificially, as shown in the figure. I set the switching time to be very short.
Next is the setting of the targetGroup, which I'll show with a rough GIF and some images due to upload restrictions,
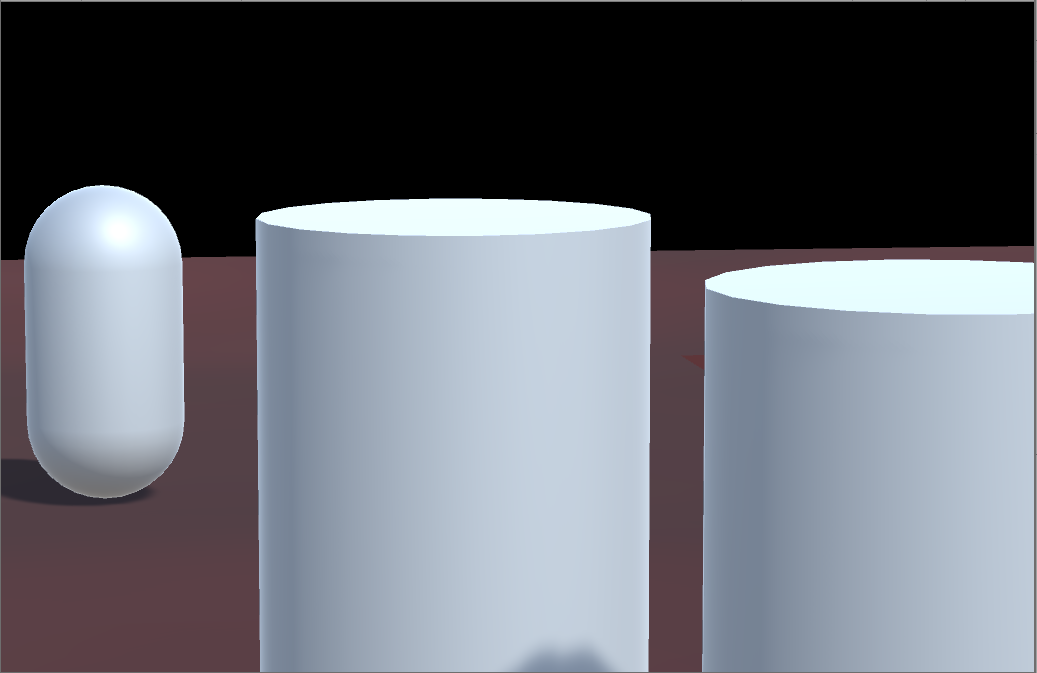
This GIF shows the camera in general, keeping the three selected objects in one shot as much as possible,
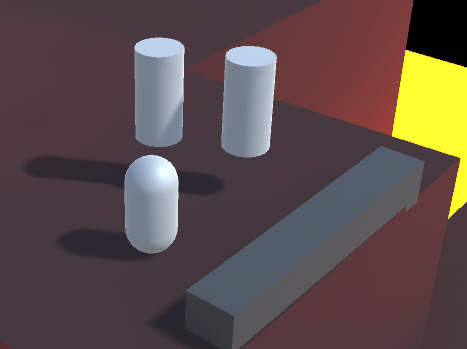
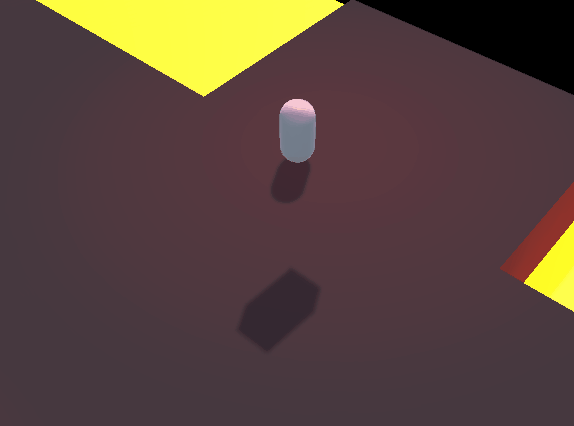
This is the approximate position of the three selected objects,
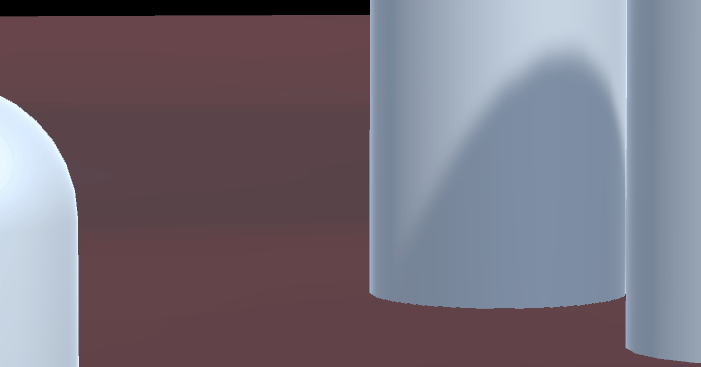
Below is a comparison of the view using this camera,
The next is to set up a slide so that the camera can follow the object along the route,
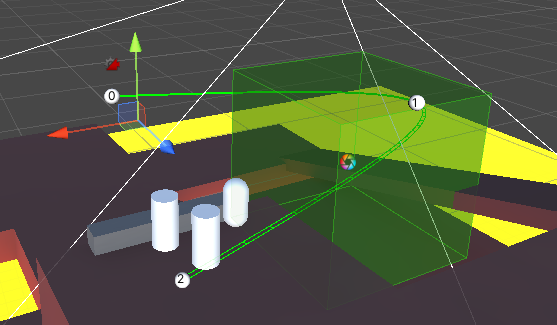
This is the setup of the route,

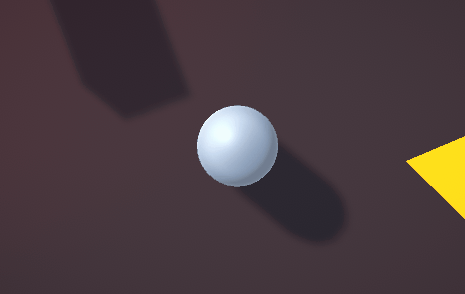
This is the final look.
Next up is the rendering of the shot.
1. The first is to change the overall game tone directly by setting the main shot
The following two images show the changes before and after the Settings are turned on,

2. Setting area effects
Like a barrier, the camera changes dramatically as player walk into the area
Finally, I have to say, getting a camera into position is a lot harder than setting it up :(
Leave a comment
Log in with itch.io to leave a comment.